|
|
Start From New Deployment
Click Project on Top System Menu Bar, then select "New", all of the previous descriptive parameters are deleted (Floor Plan, Deployment Area, APs, Walls, and Environment).
Before you select New Deployment, decide if you want to preserve the current deployment, especially if you have made modifications. If so, choose Save Deployment from the Configuration side bar and your current work will be saved. Then choose New Deployment and either begin by using the Auto Planning Wizard or use separate commands.
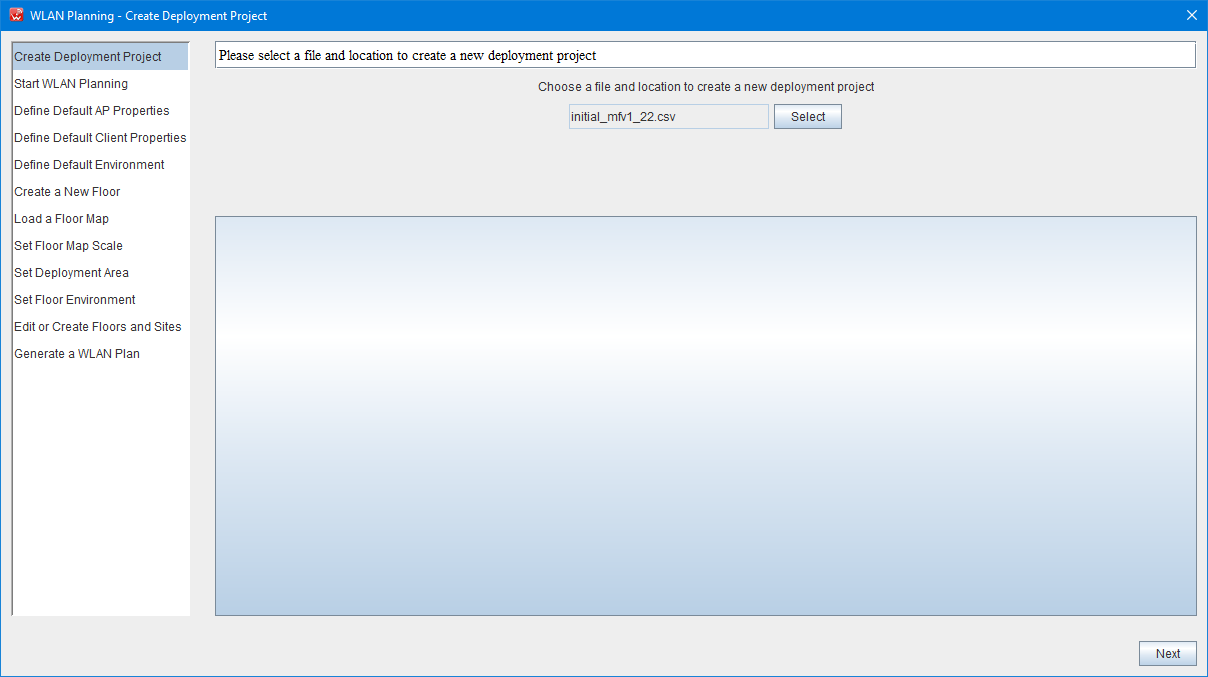
The Auto Planning Wizard is the tool of choice since it leads you through the planning in a step by step fashion. But it also allows the flexibility of skipping steps and jumping forward or backward before generating the deployment.
Flexibility is one of the keys to using WiTuners for deployment. For example, you don't need a floor plan. You can just start with a new deployment and drag a couple of APs from the icon on the Menu Bar into the deployment area. All of the defaults (APs, environment, deployment area, and walls) are already set to nominal values. It's always best to have a floor plan, walls, environment, and so forth to give you a more accurate model, but you are not forced to do so.
|
|